Saturday, May 21, 2011

Skillet stew

Yesterday I had fully intended to make a big pot of beef stew (that was supposed to happen earlier in the week but we barbequed instead)  with another loaf of my homemade bread (see recipe and how to here), but I got it in my head to spend the weekend working on my kitchen. When we moved in, the kitchen was COVERED literally from top to bottom in this brown paper. Brown. In a narrow kitchen. At first, I planned to remove it and paint before moving in, but it proved to be a HUGE undertaking, and managed to only paint the small bare wall and removed some of the paper from a section of the CEILING. Yes, the ceiling. They PAPERED THE CEILING. This is what the paper looks like around the door leading outside to the back yard:
Please ignore the ugly door....its truly hideous, lol. But imagine that paper, EVERYWHERE.

Anyway, I did manage to do some cupboards and inside them (oh yeah, forgot to mention its inside the cabinets too!)  last summer, but it was just a small space and soooo time consuming. I gave up after that and moved on to funner things.

Well, yesterday I decided that since my husband is leaving for almost 2 weeks, I would again tackle the paper. I somehow manged to work right through dinner time, and at 7:15 my girls were saying, "mom, when is dinner? Were starving?!" At which point I looked at the time and about had a heart attack, because not only did I not have dinner done, I forgot to defrost the meat!! I was not only running on 2 1/2 hours of sleep and a small nap, but I had a doctors appointment in the morning and forgot to even lay out the meat.

Pregnancy does odd things to the brain....

So, what did I do? I made the stew. In a skillet. And defrosted the meat in the microwave. Ive made the skillet stew before, always planned, so its not like it was a new meal, but then I thought how quick and easy it is and decided to share it in lieu of my typical stew recipe. I did not make a fresh loaf of bread and used sandwich bread in place of it, still yummy!
I take awful pics, but our camera is also just a point and shoot, so my pictures will never be super pretty. At least until I get a nifty camera. But Im having a baby, thats better. Right?!

Skillet stew:

1 lb stew meat, or shredded beef, cut into small chunks
2-3 potatoes, red or russet
1 cup frozen green beans
1 cup carrots- (I used halved baby carrots last night, but usually julienne regular carrots when I make this. Same result either way)
1 tbsp minced garlic
salt and pepper
2 cups beef broth (or water and bullion)
flour or cornstarch
2 tbsp oil

In a large skillet, heat oil. Add meat and garlic, season with salt and pepper. Brown on all sides. Add carrots.
Cube potatoes.

Cut in half, then in half again lengthwise, then across the width to get the cubes.

Next simply add the potatoes and green beans to the meat.
Sautee for a bit.
 Add beef broth and cover, cooking until carrots are tender and potatoes soft. Make a paste with the flour and 1/2 cup of water, add to the skillet and stir together. Once the stew has thickened, remove from heat and serve.


And voila!! You have a skillet stew.
Again the awful pic!!! But I promise you, its delish!!
If you want to make a regular beef stew, omit the green beans (or not, totally up to you!) add half a cubed  onion, 4 cups beef broth and some rosemary sprigs. Brown your meat then place in the crock pot (with veggies) or a big stock pot. Cook until the meat is soft and easily breaks apart. If youre using a stock pot, I advise using shredded beef and having extra broth in case it cooks down too much, otherwise the meat may not be very tender and too chewy. Make a gravy the same way you would with the skillet stew. Remove rosemary sprigs and serve.

And some pics of the work in progress kitchen:
This is my above the sink cupboards. We havent started this section yet, but you can see the spot n the left where we started. And the ceiling, that was where I removed paper when we first got the house. Can you imagine?!

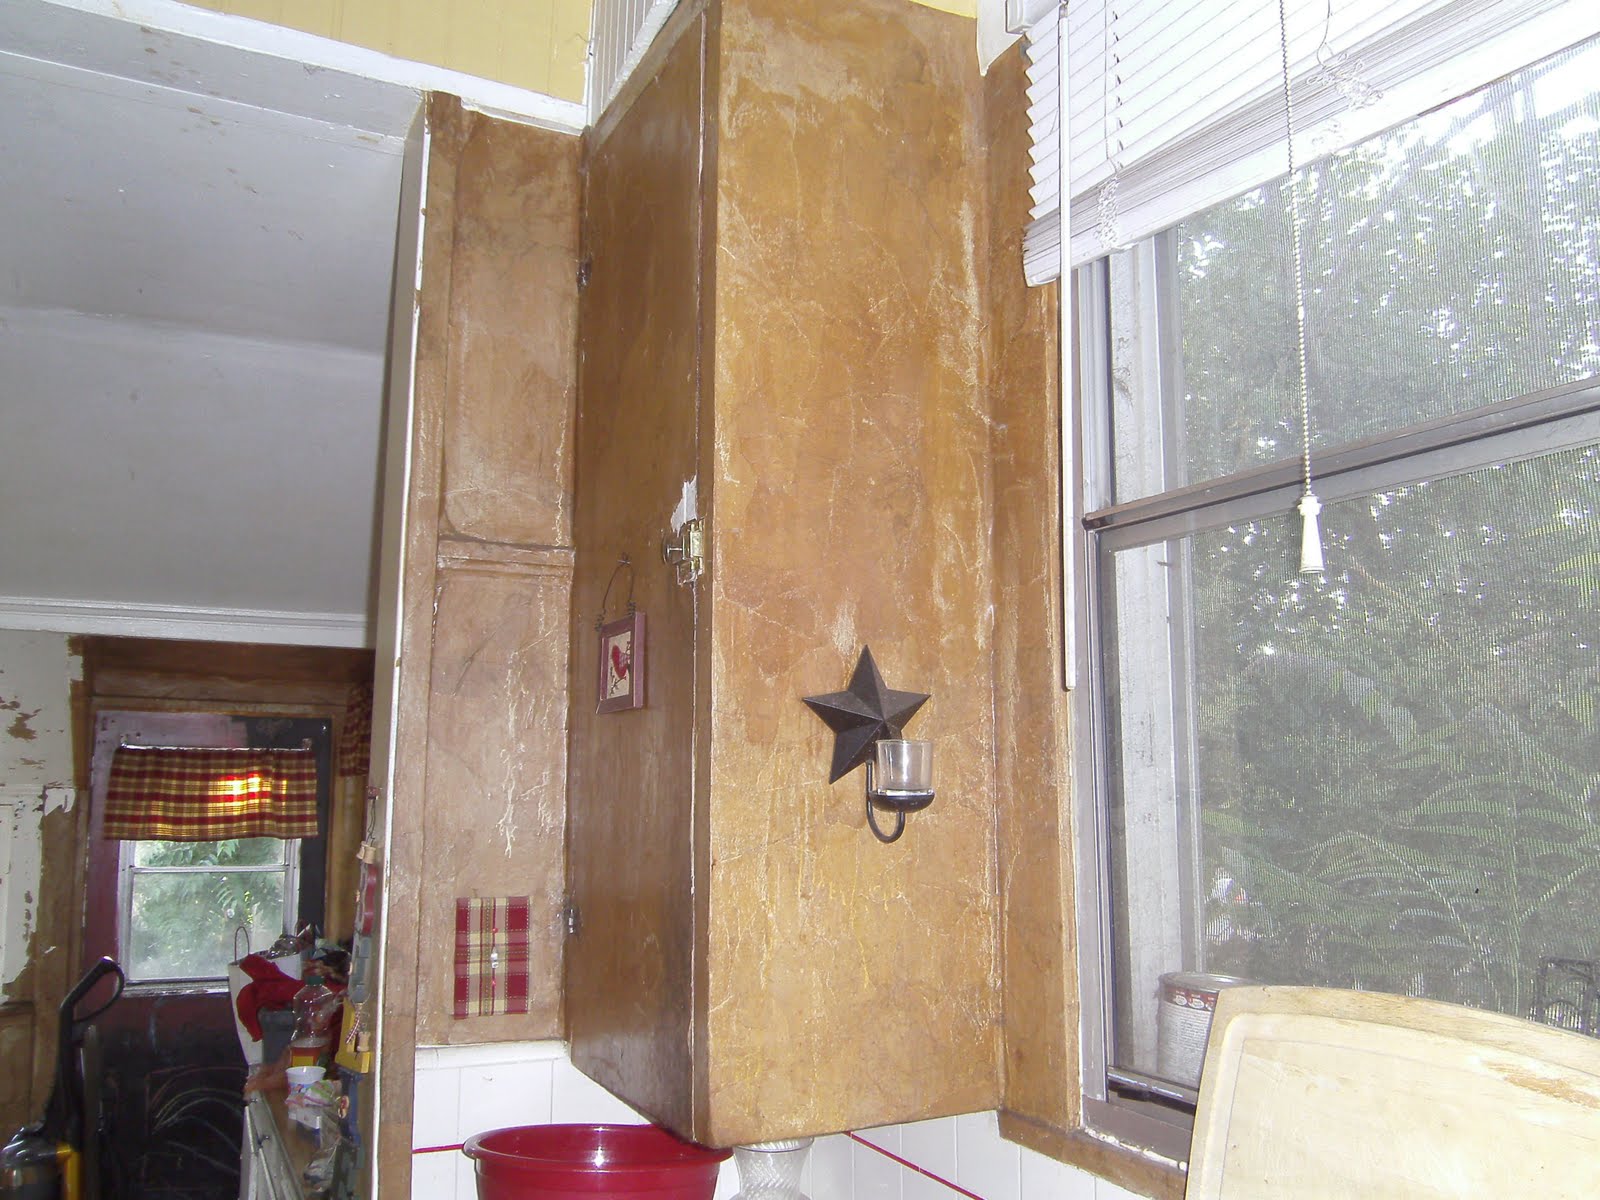
This is the bank of windows/wall were working on now. Didnt get a before pic, sorry! But you get the gist of the extent of the papering!! Gah!
That wall on the left there, is my pantry. Its in there too!!! This window was papered shut. I had no idea there was an opening window there!! Craziness.
Look at that molding. Why would anyone want to COVER IT?! And the ceiling above
More ceiling
Molding and 2 of the 4 windows there, in the middle.
Almost done. The wall on the left is the only wall that wasnt covered. Its also the only wall without cabinets, hence the shelves above the stove.
Stay tuned for the finished kitchen!

Thursday, May 19, 2011

End of the school year!

We have just a few days left to the school year! 10 school days to be exact, and then summer vacation starts!! Im always excited about summer vacation. It means balloon fights, pool parties, movie days, lazy afternoons and lots and lots of popsicles!!

My girls and I like to make strawberry lemonade pops from those little molds using fresh strawberries and lemon juice. We take about 1 cup of hulled, sliced strawberries (the molds are small) and a few tablespoons of sugar and macerate the strawberries for a few hours, then at the end of the day, we pour them into the blender with 1/2 cup of lemon juice and pulse, then pour into the molds, put the sticks in and freeze. I swear my girls get so excited about them, theyre asking for them before lunch the next day! And since Im such a cool mommy, I let them. After all, theyre real fruit and juice!! If you dont have a mold set, no worries! Ive used small paper cups and popsicle sticks. Fill the cups, let freeze for a while, then while still slightly soft, push the stick in and freeze until solid. Then, once solid, peel the paper from the pop. Easy peasy!! And, recyclable!

Mine are similar to these. Ive had them for years!! 

I love these, theyre bpa free and dishwasher safe, and theyre PINK!! Gotta get me some!


We also like to make fruit kabobs. What better way to play with your food, right? We use a variety of fruit, from strawberries to kiwi slices, and sometimes we dip them in a cream dip made from marshmallow puff and cream cheese. Its fantastic stuff!!! You just let the cream cheese come to room temp, then mix in with a jar of puff. If the kabob sticks make you nervous you can always use straws, long sucker sticks, or popsicle sticks. I make my girls sit while putting them together and eating them, if Im using the skewers. I use straws a lot of the time though, I buy them for a buck from walmart or the dollar store in bright, happy summer colors, and we can reuse them after a quick wash in a sink of hot soapy water.
These also make great snacks for beach or pic nic trips, or snacks for the park. Combined with a chunk of cheese and a couple slices of turkey, its the perfect snack on the go.

With the end of the school years comes thank you gifts for teachers and every year its hard for me to decide what to do because there are sooo many great ideas floating around, and Im always trying to plan an end of the year treat and summer fun, and this year Im planning a b-day party for our youngest as well. One year I made rice bags with lavender in them, for those stressful days. This year, Im going to make personalized door hangings from clip boards, paint and ribbon to hang with. Ill probably get them started this weekend, and have a post up by sunday. I have to make 4. Ill be doing a ton of crafting since my husband is leaving for almost 2 weeks for work! Ack!
Heres a few fun and easy ideas:
I think this would be so cool and simple to make. A wooden block drilled with different size holes, then painted or left bare. I would paint it to fit the teachers personality, and add some ribbon or something similar. You can find apple shaped wooden pieces at michaels. Dont forget to fill with pencils! Also, on the back you can glue a paper holder and put some cute paper for notes on the back.

This is such a cute idea! If you have jewelry making supplies (and skills) this would be an awesome gift.

This is just so simple its fantastic!

If you dont have a lot of time to make something, a gift card to a book store or teacher supply store would look great in these super cute gift card holders.

I love coasters, and I love making them. Use a simple white (or any color) to print with paint then cover with a thin coat or two of clear sealant. Pad the backs with a piece of felt.

These are just the coolest things. Paper, wood, a paint pen, and ribbon are all you need!

I just love this! It is so sweet. You could use your childs hand print in place of the heart.

Arent these adorable?? Use them to hold food treats or the gift itself.

I love this idea. I always do something similar at the beginning of the year, but Ive never used a box like this before. Its perfect.


Tuesday, May 17, 2011

tickle me tuesday!

Today is national cherry cobbler day! And what better way to celebrate spring (and possibly warm yourself up?) than with a piece of cherry cobbler? It really tickles me that pies and such have national days to celebrate, and everyone loves a celebration, right? Here are a few of my favorite "cherry cheeries". Enjoy!


The thing I love most about cobblers (and crisps & crumbles for that matter) is that its whats INSIDE that matters. The beautiful ooey gooey goodness of the filling just bubbles over and is perfectly imperfect. The way life is!
Heres the recipe I use:

1 1/4 cups sugar
3 tablespoons cornstarch
4 cups pitted fresh tart cherries
1/4 teaspoon almond extract
1 cup flour
1 tablespoon sugar
1 1/2 teaspoons baking powder
1/2 teaspoon salt
3 tablespoons shortening
1/2 cup milk

Preheat oven to 400°. Blend 1 1/4 cups sugar, cornstarch, cherries, and almond extract in a saucepan. Cook over medium heat, stirring constantly, until mixture thickens and boils. Continue to boil and stir for 1 minute. Pour fruit mixture into an ungreased casserole dish, or individual ramekins. Place in oven while preparing dough. Measure flour, 1 tablespoon sugar, baking powder, and salt into a mixing bowl. Add shortening and milk. Cut shortening in several times then stir until dough forms a ball. Drop dough in about 6 spoonfuls onto hot fruit. Bake 25 to 30 minutes, or until topping is golden brown.
We like ours with vanilla ice cream!

Nothing beats a great cobbler than the perfect dish to serve it in, or the perfect place settings.

I prefer the crisp easy mixability of white dishes, but sometimes, blue is an amazing back drop to red food, like these simple and classic pieces from pottery barn.

I am a fool for country and gingham! I love the combination with the cherries.
So bright and pretty!

Sunday, May 15, 2011

Fresh, homemade bread

Simple, white, homemade bread is the best thing ever, especially when warm from the oven with REAL butter (never margarine!). So Im going to share my recipe for it with you, since this is the most dreary spring ever.

Seriously, we have had hardly any sunshine. ..this is sunny california!! Im having withdrawls. But it does give me an excuse to make some warm soups and stews still, and tonights dinner will be a simple beef stew with homemade bread. Ill share the stew another time since Im posting this BEFORE dinner, just in case someone somewhere else dreary would like melt in your mouth bread.

And on the dessert end, were having left over apple pie, because, and how I did not know this I dont know, Friday was national apple pie day!! Seriously, I need to stay on top of this stuff!!

Fresh bread: Super simple and easy. Dont use a machine!
1/4 cup of milk
1 1/2 tbsp sugar
1 tsp salt
1 1/2 tbsp melted butter
2 1/4 tsp yeast (1 packet)
2 1/2-3 1/2 cups flour
1 cup warm water

Turn oven on to 400*. In a warm bowl (I warm mine by running the outside under very hot water) mix together yeast and warm water. Add melted butter, milk, sugar, and salt, mix well. Add 2 cups of flour, stir.
I forgot to photo the water and yeast mix, sorry. But heres all the ingredients together.

Keep adding more flour until dough is slightly sticky but not so sticky it sticks to your hands. On a dry counter or bread board, spread some flour out, dump your dough on it, and knead for 10 minutes, adding more flour until dough is no longer sticky and the 10 minutes is up.


Think loving thoughts while kneading so your family can taste the love put into this simple treat, finish the knead by rolling the dough into a ball.

When the time is up, grab a fresh mixing bowl, and spray with non cooking spray, or spread on a little oil/butter or cornstarch, add your dough ball and cover with a dishtowel.


Let sit for 1 hour, or until dough is doubled in size. If your kitchen is sufficiently warm, this shouldnt take more than an hour.
After doubled, punch dough down.

Coat a loaf pan the same way you did the bowl. On a lightly floured surface, dump out your dough ball, and spread into a rectangle and roll up.


Place in the loaf pan, cover and let rise another hour.
After the hour, you can either bake, or do another punch down and rise for another hour.
I just bake it after the first hour for 30 minutes.

My bread is still rising, so I have no finished pic for you, but Ill try to add one later with the stew recipe, if I can remember to get a pic before everyone scarfs it down. This bread doesnt last long enough to get cool! I prefer the taste of hand made bread than bread from a machine, and it doesnt require much more effort. Plus, it feels great to pour your love into something made from your hands. Your family not only tastes it, but they see it.

Belly huggers

Ok, so I had to come up with a different name for my homemade "belly bands", and I think a belly hugger is a good name.

I should have worn a different tee for the photo because it doesnt look like I have a waist! And I look MUCH bigger than I really am....


Ive made 3 so far from some stretchy fabric that was given to me. Since Im not a fabric buff, I have no clue what the type is (possibly knit?), but it worked for what I needed it to!! And it was FREE. Cant beat that! And I love that I can sit down in my jeans and breathe and not feel the pinch of the top of my jeans, and you cant tell theyre unbuttoned.

Heres how I did it:

I measured around my belly, then subtracted about 2-3 inches, so it fits snugly after the material does its thing and stretches, and I measured from the top of my belly to my hips and added about 5 inches for growth and hemming. Then I laid the material out and cut a strip, then cut in half through the middle length wise. I made sure the stretchiest part went up and down so it stretches as I grow out forward. I dont PLAN to grow out the sides!

The other ones I made, I doubled the length so I had a thicker double hugger, which resulted in a tighter band. With those I folded each piece over in half and hemmed, then turned inside out so the hem was inside, put the sides together and sewed then flipped it out again so the sides were inside. Smooth and seamless on the outside. But heres the single layered first one:

Both pieces hemmed and ready to be sewn together.

The pieces joined together. Flip out and then you have.......

A nice tube. Try it on, and if its too big, trim the sides down and re-sew together.

And theres your belly hugger that was free to me, but would probably cost around $5 for 3. Any stretchy material you have would work, even an old t-shirt hubby no longer wears or is too stained to do anything in but change the oil on your car.

Im sorry it took so long to post anything, I was having computer problems, photo problems and then blogger was down, in between not feeling well it just didnt happen.